What’s In A Luxury Real Estate Photography Gear Kit
My Real Estate Photography Gear Kit
Marc Weisberg, Architectural, and Luxury Real Estate Photographer
Luxury Real Estate Photography Gear: Hi, My name is Marc Weisberg. I’m a Luxury Real Estate photographer and educator living in Southern California where it rarely rains and never snows. My fascination with photography started when my dad gave me my first 35mm film camera. I was thirteen that year and attend a private school in Connecticut. It was a time when print type was still set by hand, computers didn’t exist, film ruled and digital photography wasn’t even imaginable. Okay, I’m feeling old right now! I remember watching a sheet of photographic paper slowly being rocked back and forth in the developer, and as if by magic, an image began to appear. I was awed and instantly hooked.
My love and passion for light, and how it physically shapes architecture and the interior design aesthetic is unbounded. I’m blessed to have clients that appreciate photography. I honestly feel as though I am constantly learning. That photography is an infinite canvas to create on. I’ve been self-employed as a photographer since 2000, and embrace the challenge of creating something beautiful for my clients each time I take on a new project.
In addition to servicing my clientele, I also run a series of workshop intensives throughout the year, in Southern California, Las Vegas, Arizona, New York City, and beyond. In the workshop intensives, I teach photographers how to be better real estate photographers, how to work with off-camera lighting, how to composite and retouch and how to make more money. The workshops are a rigorous 3 days of intense learning and a fun gathering of attendees from all over the country.
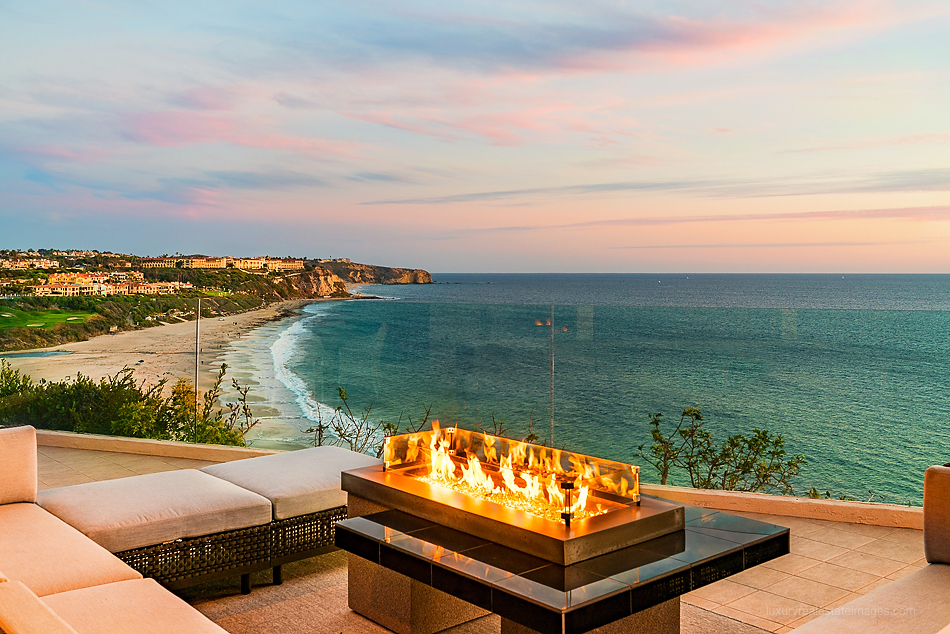
The majority of my photography clients are commercial and luxury real estate brokerages, multi-national firms who own, broker or manage properties, home builders, high-end interior decorators, resort operators and multi-national construction companies, who’s projects range in the tens of millions to over a billion dollars. I’m fortunate to have the luxury of time on my side when embarking on my client’s photography projects. I often spend a half day, a full day or multi days on property creating magazine quality images for my clients. A key element is controlling and shaping light to bring out color, surface texture and details of the architectural and living spaces. Because I composite my imagery it’s not unheard of for me to shoot 400 RAW images on a half day shoot and 900 RAW images on a full day shoot.
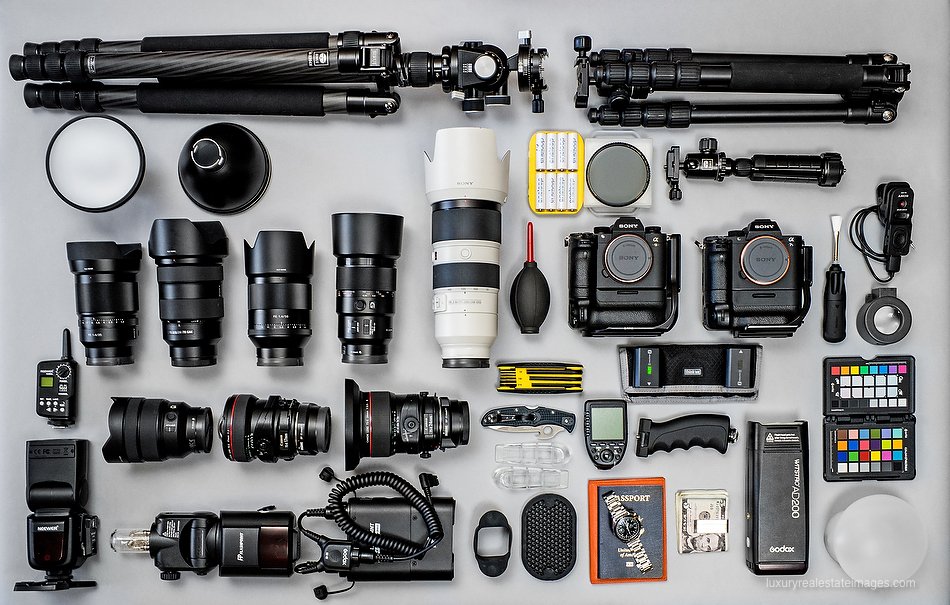
This is the core of my kit. What you don’t see here are scrims, light shaping tools like bounce and shoot-thru umbrellas, bigger strobe lights, light stands, cases for my gear, computers like my 27” i7 iMac and 15” MacBook Pro, G-Tech desktop drives, a bevy of software, a Wacom tablet and the occasional bar of Cuban chocolate.
My Luxury Real Estate Photography Kit was photographed with my a Sony a7iii, handheld, with two Neewer speedlights, bounded off a white ceiling. Gear is identified left to right, top to bottom.
Marc’s Architectural and Luxury Real Estate Photography Kit
Sirui N-3204x: This is my daily use tripod. A solid base with a height of 69.3” or 5.7¾ ft., the geared head, a absolute necessity for architectural and luxury real estate photograph is the Arca Swiss D4. I’ve chosen Sirui tripods for the meticulous attention to design aesthetics and build. A tremendous value. The majority of carbon fiber tripods in the marketplace easily cost $200 more.
Sirui W-2204: Each leg segment is sealed from water, dirt and sand intrusion. If you’ve ever photographed on the beach, you know how important this is. I’ve taken off the bottom half of the center column allowing me to use this as a table-top tripod. When the legs are splayed out, the top of the ball head is approximately 9″ off the tabletop. Comes in super handy for photography situations which require a minimum rise off a kitchen island or tabletop when photographing modern kitchen designs.
Godox Reflectors: Multipurpose reflectors that fit on both the AD200 with it’s bare bulb attachment and the AD/FlashPoint 360.
Eneloop Li AA Batteries: Manufactured by Panasonic. I’ve been using Eneloop rechargeable batteries for years. They are reliable and hold their charge when not in use for what seems like forever. I only use rechargeable batteries in my electronics. Why? 1) Better for the environment, 2) Fast recycle time, 3) Lead-acid batteries leak, corrode and ruin costly electronics.
Breakthrough Photography Circular Polarizer: Completely color neutral. Essential for cutting glare on ocean vistas of the ocean when photographing coastal homes and cuts the glare of interior reflective surfaces. With an 82mm screw on mount, I use this on my Canon 24mm Tilt-Shift and Sony 24-70mm f/2.8 G Master lenses.
Sirui 3T-35K Table Top Tripod: Always innovating, Sirui developed this smartly engineered mini table-top tripod which folds up onto it’s self. Its small enough [folded: 9.5”, max height: 13.4”] and lite enough [15.2 oz.] to put in a shoulder bag and travel with. Also comes in super handy for desktop Smart Phone video, hiding speedlights around corners and to use in places that prohibit [full blown] tripods.
Sony Distagon T* FE 35mm f/1.4 ZA: Tack sharp wide open @ f/1.4 with generous bokeh. Biting sharp when stopped down. No noticeable barrel distortion of CA. Having the aperture ring on the barrel makes it quick and easy to rack the f/stop and has a switch to change in and out of clickable f/stops and non/clickable for smooth video f/stop transitions.
Sony FE 24-70mm f/2.8 GM: An essential zoom lens in my luxury real estate kit. I use the 24-70mm on every shoot. Tack sharp at f/2.8 with lovely bokeh and a minimum focusing distance of 1.24 ft. The GM is the sharpest 24-70 I’ve ever owned.


Sony Planar T* FE 50mm f/1.4 ZA: This FE 50mm f/1.4 is superb. Big and heavy due to its fast f-stop, ridiculously sharp, wonderfully built, with an aperture ring on the lens’s barrel. I really enjoy the feel and build of this beefy fifty. It produces a beautiful color rendition, when wide open exhibits a rendering and color character reminiscent of Kodachrome film.

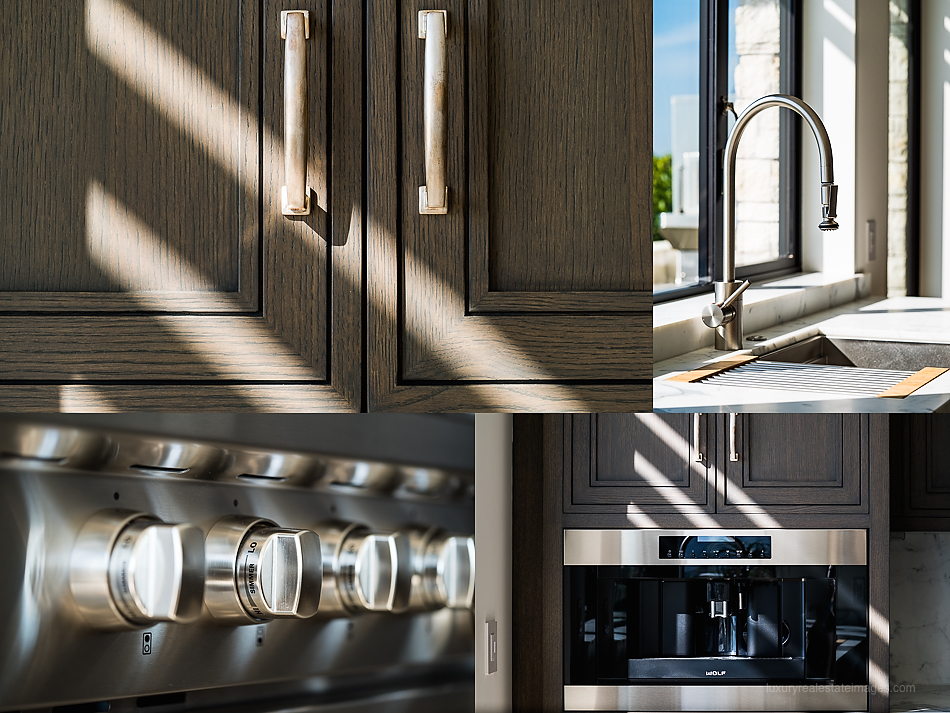
Sony 90mm Macro f/2.8 G OSS: My 90mm macro lens is indispensable. I am constantly using it for architectural details. It also comes in handy as a remarkable portrait lens and for creating compelling real estate landscapes. The 90mm is tack sharp at f/2.8 through the range of f/stops. “OSS” denotes Optical Steady Shot and has a stabilization gyro inside the lens housing.
Sony 70-200 f/2.8 G Master: Wow! What a lens. This lens is razor sharp at f/2.8 all the way through. I use this lens to photograph ocean views, vistas, sometimes exteriors and even interior details wide open @ f/2.8 which produces an extremely unique look.



Rocket Blower: I have one in each my Think Tank roller bags. Essential for on the move sensor dust removal.
Sony a9: My go to architectural and luxury real estate camera body, 24.2mp, full frame camera, with 5-axis image stabilization. Pictured here with the Sony VG-C3EM Vertical Grip, and Really Right Stuff [RRS] L bracket.
Sony a7sII: 12.2 megapixels, full frame camera. Although I light the majority of my interiors, I never have to think twice about photographing at very high noiseless ISO’s. I rely on the a7sII when I need a lowlight beast. You may think that 12.2mp’s is not enough when there are other camera bodies that feature from 24mp-42mp. Fact is, I’ve use this camera before the a7RII, a7RIII and a7III came on the scene. Images for the a7sII have been published as magazine covers and featured by prominent RE brokers and agents in magazines. Producing super clean images, I can easily push the a7sII properly exposed to 10k and 20k ISO and it looks like 800 ISO on most other cameras. The a7sII Pictured here with the Sony VG-C2EM Vertical Grip, and Really Right Stuff [RRS] L bracket.
Visible Dust Arctic Butterfly: I clean my sensors and have been doing so for at least 10 years now. The Arctic Butterfly is a battery-operated LED lite, cleaning brush. Tuning on the small in body motor spins the brush creating a negative charge and causes dust to be attracted to the brush head. The LED lights illuminate the sensor. It comes in a padded protective hard case and packs easily for travel. Visible dust tools are expensive. You’ll only worry once about the price. This is my second Arctic Butterfly. My first one just died after 10 years of use.
Visible Dust 8x LED Loupe: A necessary tool which illuminates and magnifies the sensor to view dust particles.
Sony RM-VPR1 Remote Commander with Multi-Terminal Cable: A very basic and very reliable wired trigger for tripping the camera shutter. Used in low light or for long exposures. When used in conjunction with Sony Power Zoom lenses the RM-VPR1 allows you to zoom directly from the commander module.
Neewer 433MHz Trigger: Used to trigger my Neewer Speedlights.
Stanley Allen Wrench Set: If you are like me you have more than a few Allen wrenches sprinkled in your bags for on-the-go tightening or loosening of hex screws. I got tired of having loose wrenches in all my bags and purchased a two pack of these convenient wrench sets and keep one in each of my Think Tank rolling bags.
Think Tank Photo DSLR Battery Holder 4: Small. Well made. Will last a lifetime. Great for organizing my Sony batteries for all my bodies. I own three of them.
Sony FE 12-24mm f/4 G: Sold my 16-35mm f/4 and purchased the excellent 12-24mm f/4 G. The 12-24mm exhibits minimal barrel distortion which is 100% correctable in Adobe Ligthroom. I pull out the 12-24mm when my 17mm Tilt-Shift is not wide enough. The lens is always in my bag, fast to focus, razor sharp with zero vignetting, sharp in the corners and sharp edge to edge.
Canon 17mm Tilt-Shift Lens: My go-to exterior architectural lens. It fits onto all my Sony cameras with use of a Metabones IV adapter. A Tilt-Shift allows to me control perspective and achieves images not possible with zoom or prime lenses. Previously I wrote about the prowess of the 17mm Tilt-Shift and how it was an Aha moment for me.
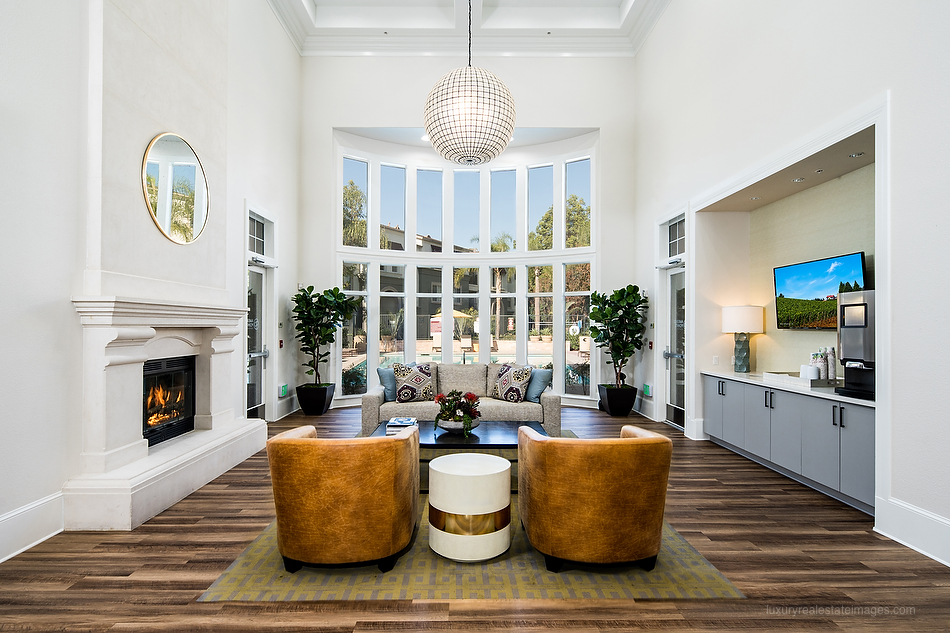
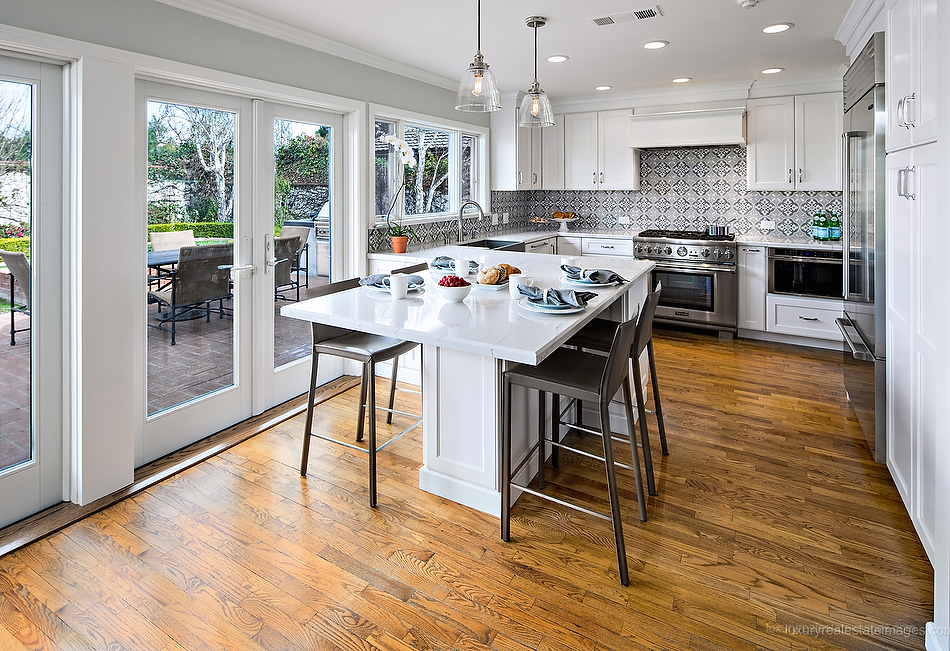
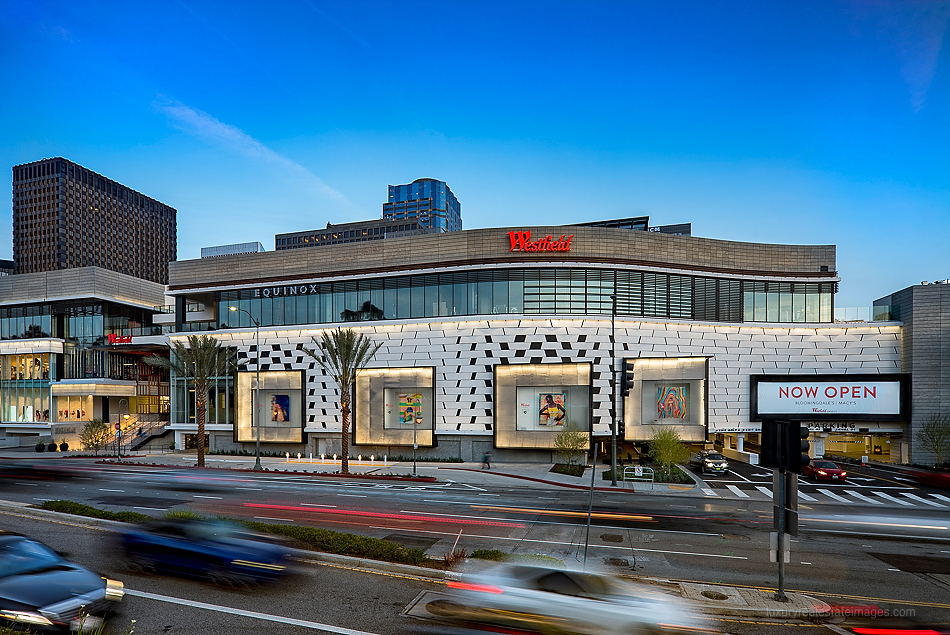
Canon 24mm Tilt-Shift Lens: My go-to interior photography lens. It fits onto all my Sony cameras with use of a Metabones IV adapter. A Tilt-Shift lens allows me to control perspective and achieve images not possible with zoom or prime lenses.
Spyderco knife: Comes in super handy for cutting stray threads, tape, boxes and other items.
Clear Door Stoppers: Purchased on Amazon. Necessary for holding doors open and so much easier to retouch out of a scene than the standard darker doorstoppers.
Godox XProC-Wireless Flash Trigger: I use the Canon version of the Xpro trigger. Why? The Canon version doesn’t disable the EVF’s real-time feature. If you use the Sony version it disables the real-time exposure information.
Fantaseal Ergonomic Camera Grip: I attach this to my Godox AD200’s so I can easily handhold the flashes for light painting.
X-Rite ColorChecker Passport: When photographing interiors for interior designers, my color needs to be spot on. This small, compact portable tool allows to me get accurate color and ships with software to profile each camera in Adobe Lightroom. Most of the time I can eyeball color correction and get it spot on. For times when I’m in a tricky lighting situation, when there is a strong color cast, I pull out my ColorChecker Passport.
Neewer and Godox V860 II: Godox recently came out with these great speedlights. I have 6 speedlights in my kit and use them to light my interiors. They are lightweight and very easy to work with. If I need a lot of extra light in one single area it’s easy to gang up two lights. The V860 II’s have built-in radio transmitters and house rechargeable Lithium Ion batteries that last far longer than AA batteries. I usually can use a single Li battery for up to 4 shoots. Although the Godox is capable of TTL output and high speed synching, I use it in full manual mode when photographing luxury real estate.
Godox AD/Flash Point 360: The 360 is a 360watt/sec flash head that attaches to a Li battery pack which, like the Energizer Bunny, just keeps on going. I’ve used these powerful flashes at ¼ power for over 900 pops and they still have about 1/3 power left. I’ve also used two of them to fully light a commercial building lobby with 14ft. ceilings and balance full noon outdoors skies at 1/1 power on both lights. Super quick 1 second recycle times. The 360’s are built like a tank, are full manual and HS, TTL too. If you’d like to find out more about the Godox flash system click here.
MagMod Grid System: The best in the business. The MagMod light system is comprised of a suite of light shaping components. MagMod uses rare earth magnets to couple their products, for fast and easy attachment and removal of their grids and light shaping tools. The system shown here has two parts. The MagMod Grip: Which fits on your speedlight head. And the MagMod Basic Kit, which contains grid and color correction filters. I have two grids in my kit, which can be stacked when needed. The MagMod system fits both speedlights and the AD200 heads.
Passport and Omega Speedmaster: Because I love travel. My wife gave me my Speedmaster Chronograph for a wedding present and love its timeless design.
Godox AD200: I resisted purchasing this light for the longest time. Here’s why it’s now an essential part of my kit: 1) It boasts 3 times the power for a speedlight. 2) It’s only slightly larger than a speed light. 3) I can pack 2-AD200 heads and 6-speedlights with extra batteries in a Pelican 1510. 4) The Li batteries last forever. 5) When I need more power I reach for them. 6) Perfect for lighting huge spaces. 7) Ships with two heads: A Fresnel style head and a bare bulb head. 7) They’ve never let me down. I purchased a second one for back up…that’s how much I like them.
MagMod Sphere: A wonderful light-shaping addition made from opaque silicone. Fits onto the MagMod Grip and can be used with both speedlights and the AD200. I opt for use on the AD200 and use it to light paint large rooms. Because it’s made from silicone with a non-rigid build it can be compacted and fit into my Pelican 1510 lighting case.
Think Tank Airport International, Think Tank Airport Advantage, and the Think Tank Airstream: Not pictured here. I’ve been using Think Tank bags forever. Depending on the demands of a given shoot I pack the appropriate Think Tank bag(s) with my gear. They are bulletproof and built to last and keep on looking new. I rely on them to protect my gear while in transit and are super easy to work out of on location.
About the Author, Photographer and Educator: Marc Weisberg is an architectural and luxury real estate photographer based in Southern, California. Weisberg teaches a series of acclaimed Luxury Real Estate Workshops across the US. You can find out more about his workshops on his website.To see Marc’s Sony Zeiss ZM Ultimate Travel and Street Kit click here.
