Adding Drama To Real Estate Twilight Shoots
Los Angeles Commercial Real Estate Photography
Adding Drama To Real Estate Twilight Shoots is easy with a little bit of forethought and preparation. My clients often request commercial real estate photography twilight shoots. There are a few timing factors and a few equipment / gear requirements and some forethought that goes into creating a compelling image that will create that wow factor and drama for your client. Let’s dig in and take a look at how these images were created.
Commercial Real Estate Photography Gear List
This past weekend I headed up to Los Angeles with my Think Tank Airstream packed with some of my favorite gear.
Sony a7s: Just happens to be the camera I chose for this shoot. I knew that I wouldn’t need this set of images printed super large. The Sony a7s can handle any lighting situation you throw at it. It shoots cleanly from ISO 50 – ISO 51,200. In my gear bag is an a7RII, a7II and an a6000. Any of these bodies could have captured the same image. You can choose any camera you own to create a twilight commercial real estate photograph like the one below.
FE 16-35mm f/4.0 Z OSS: My go-to wide-angle lens. It does have some distortion, but it is easily fixed in Adobe Lightroom by downloading and using the included Lens Profile Adjustment which I’ve made into a preset in the Develop module. In LR–>Develop–>Lens Corrections–>Profile.
Hard Wired Intervalometer {optional}: Here’s one example, but you don’t actually need an intervalometer. You can simply use your camera’s internal self-timer and set it to 2 seconds.
Enduro C-314 Tripod: A sturdy tripod is a must for long-exposure photography. This is one area you should never skimp on. My last tripod was a Manfrotto. Made of aluminum, which lasted me for over 10 years. The enduro is the finest tripod I’ve owned to date. Lightweight. Very stable and very quick to adjust the legs with a simple 1/4 turn of the leg knobs.
RRS BH-55: Left over from my Canon DSLR days, this heavy-duty, precision ball head with an Arca Swiss-style clamp is made to last. It’s been my go-to ball head for over 10 years now. If I were starting my kit from scratch, I would opt for the smaller BH-40 LR II. A lot of photographers opt for a ratcheted head. I enjoy the speed of using the RRS BH-55 and have all my cameras fitted with RRS’s L-plates. The beauty of this setup is you can go from portrait to landscape in 2 seconds.
Twilight Timing
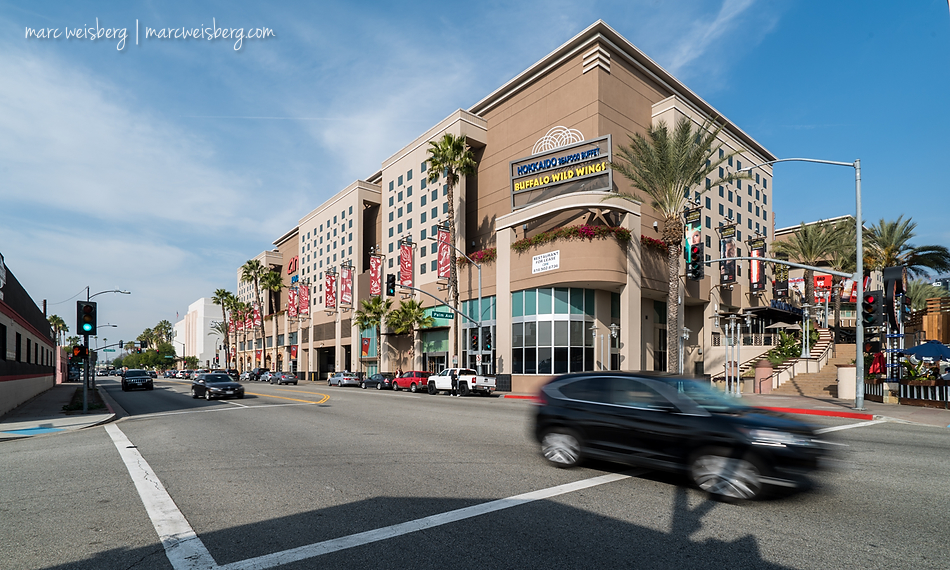
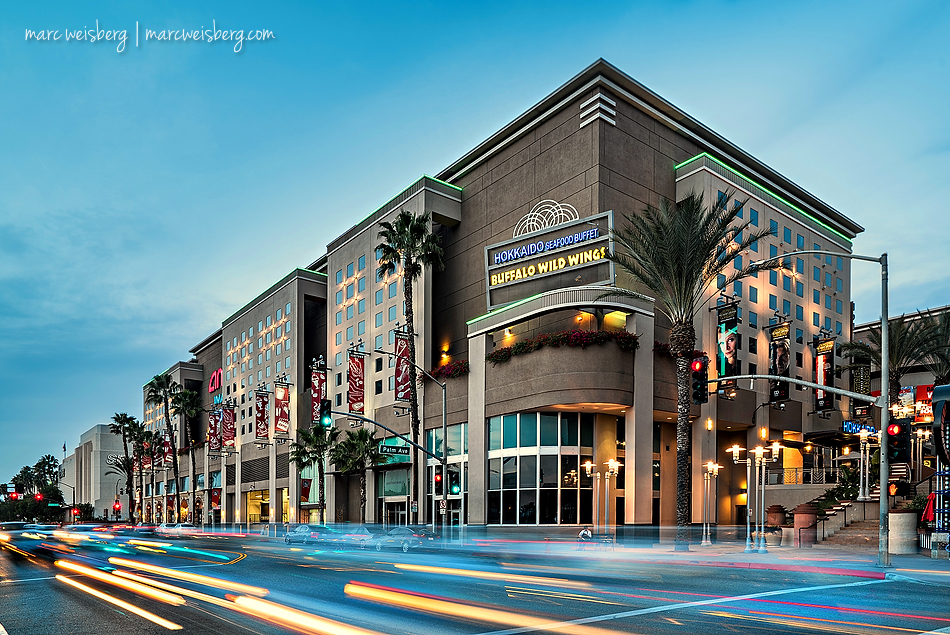
My client specifically asked for blurred car lights with city drama. If it’s your first time trying this type of exposure, you can go to any busy intersection in your hood and try your hand at it….it just requires a bit of practice. I’ve included my camera setting below for you. It’s important to put your camera in manual mode to have full control over the shutter speed. There is a bit of tweaking with the shutter speed. 2 seconds was a bit too long, and 1/2 a second was too short a duration. 1.6 seconds was just right. Timing the degree of twilight on these shoots is critical. The sun set at 5:08. The image below was made at 5:11pm. While there is no hard and fast rule for exactly what time you photographically need to create a twilight shoot like this, it becomes a personal preference. I could have waited until the sky was a deeper blue. But it just felt right. The key thing here was that everything was in harmony. The tail and headlights were easily discernable, the sky was the right color for me, and the building lights were easily visible.
Finishing Touches
Finishing the image was one in a few steps. I’m a 100% RAW shooter. After tweaking the image in Adobe Lightroom, I swiped my Saturation tool over the headlights and taillights in Adobe Photoshop CS5. Sharpened the image with Google / Nik Collection – Sharpener Pro 3 and warmed it up a bit with the Brilliance Warmth filter in and removed a bit of the blue cast with the White Neutralizer filter both in Color Efex Pro 4.